Physical Address
304 North Cardinal St.
Dorchester Center, MA 02124
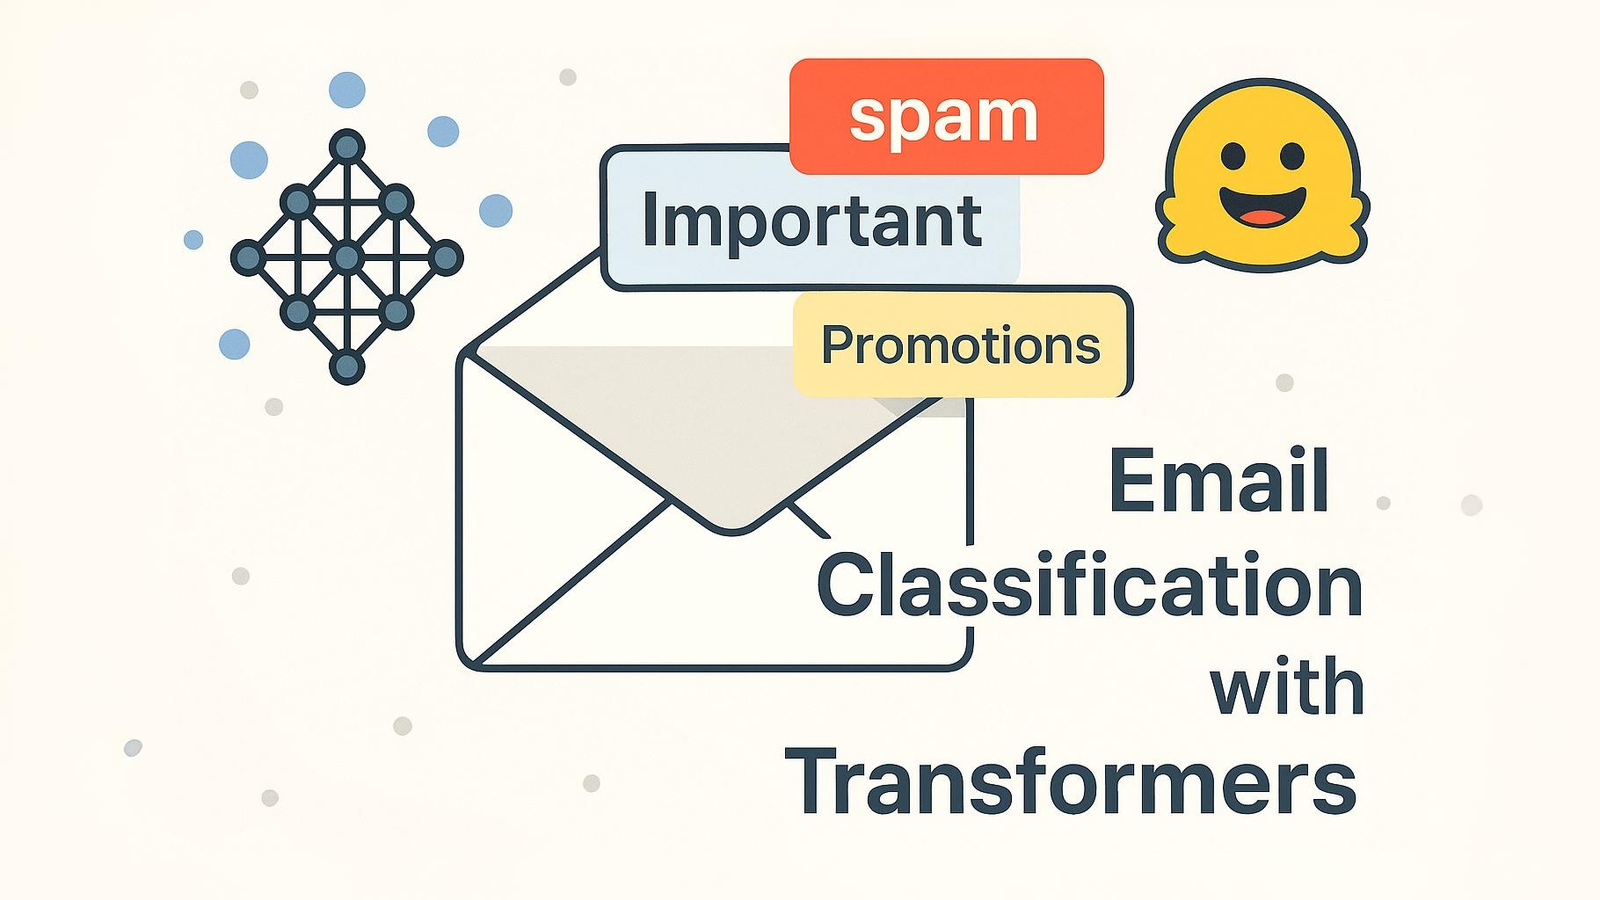
Transformer models have revolutionized NLP, but are you applying them to your daily workflow? In this guide, I'll show you how to leverage Hugging Face's powerful models to build an email classifier that learns the difference between important messages and digital noise—with just a few lines of code.
In today’s digital age, we’re constantly bombarded with emails. For businesses and individuals alike, sorting through hundreds of incoming messages can be time-consuming and inefficient. This is where Natural Language Processing (NLP) comes to the rescue. This blog will show you how we can create an email classification system and this is an example on how to use NLP and Hugging Face. I’ll walk you through building a practical system using state-of-the-art transformer models that automatically categorizes your emails into meaningful categories.
Table of Contents
ToggleWe’ll build a system that automatically categorizes emails into different classes such as:
By the end of this tutorial, you’ll have a working email classifier that you can integrate into your workflow or customize for more specific categories.
A Google Colab account or local environment
Let’s start by installing the necessary libraries:
# Install required packages
!pip install transformers datasets pandas numpy scikit-learn
Now, let’s import our dependencies:
import pandas as pd
import numpy as np
import torch
from transformers import AutoTokenizer, AutoModelForSequenceClassification
from transformers import Trainer, TrainingArguments
from datasets import Dataset
from sklearn.model_selection import train_test_split
from sklearn.metrics import accuracy_score, precision_recall_fscore_support
For this tutorial, we’ll use a synthetic email dataset. In a real-world scenario, you might want to use your own labeled emails or an open-source dataset.
# Load data from a public email classification dataset
# You can download the Enron Email Dataset from: https://www.kaggle.com/datasets/wcukierski/enron-email-dataset
# Or use the Lingspam dataset: https://www.kaggle.com/datasets/mandygu/lingspam-dataset

# For this tutorial, we'll use a simplified version with sample data
# In practice, you'd load your dataset like this:
# df = pd.read_csv('path_to_your_dataset.csv')

emails = [
    {"text": "Congratulations! You've won a free vacation to Hawaii. Click here to claim now!", "label": 3},  # Spam
    {"text": "Hi Sarah, can we meet for coffee this weekend? Let me know what works for you.", "label": 1},  # Personal
    {"text": "Your monthly subscription has been renewed. Your next billing date is June 15.", "label": 2},  # Update
    {"text": "FLASH SALE: 50% off all items for the next 24 hours only!", "label": 0},  # Promotional
    {"text": "I'm interested in your services. Could you please provide more information about pricing?", "label": 4},  # Inquiry
    # Add more examples...
]

# Convert to DataFrame
df = pd.DataFrame(emails)

# Display the first few rows
print(df.head())
Now, let’s split our data into training and validation sets:
train_df, val_df = train_test_split(df, test_size=0.2, random_state=42)

# Convert to Hugging Face Datasets
train_dataset = Dataset.from_pandas(train_df)
val_dataset = Dataset.from_pandas(val_df)
We’ll use a pre-trained BERT model from Hugging Face and fine-tune it for our classification task:
# Define label mapping
id2label = {
    0: "Promotional",
    1: "Personal",
    2: "Update/Notification",
    3: "Spam",
    4: "Inquiry"
}
label2id = {v: k for k, v in id2label.items()}

# Load tokenizer and model
model_name = "distilbert-base-uncased"  # A smaller version of BERT, faster to train
tokenizer = AutoTokenizer.from_pretrained(model_name)
model = AutoModelForSequenceClassification.from_pretrained(
    model_name,
    num_labels=5,
    id2label=id2label,
    label2id=label2id
)

# Tokenize the data
def tokenize_function(examples):
    return tokenizer(examples["text"], padding="max_length", truncation=True, max_length=128)

tokenized_train = train_dataset.map(tokenize_function, batched=True)
tokenized_val = val_dataset.map(tokenize_function, batched=True)
Next, we’ll set up our training arguments and train the model:
# Define metrics computation function
def compute_metrics(pred):
    labels = pred.label_ids
    preds = pred.predictions.argmax(-1)
    precision, recall, f1, _ = precision_recall_fscore_support(labels, preds, average='weighted')
    acc = accuracy_score(labels, preds)
    return {
        'accuracy': acc,
        'f1': f1,
        'precision': precision,
        'recall': recall
    }

# Define training arguments
training_args = TrainingArguments(
    output_dir="./results",
    learning_rate=2e-5,
    per_device_train_batch_size=16,
    per_device_eval_batch_size=16,
    num_train_epochs=3,
    weight_decay=0.01,
    evaluation_strategy="epoch",
    save_strategy="epoch",
    load_best_model_at_end=True,
    push_to_hub=False,
)

# Initialize trainer
trainer = Trainer(
    model=model,
    args=training_args,
    train_dataset=tokenized_train,
    eval_dataset=tokenized_val,
    compute_metrics=compute_metrics,
)

# Train the model
trainer.train()
Let’s evaluate our model on the validation set:
# Evaluate the model
eval_results = trainer.evaluate()
print(f"Evaluation results: {eval_results}")
Now we can use our trained model to classify new, unseen emails:
# Function to classify new emails
def classify_email(email_text):
    inputs = tokenizer(email_text, return_tensors="pt", padding=True, truncation=True, max_length=128)
    with torch.no_grad():
        outputs = model(**inputs)

    # Get predicted class
    predicted_class = torch.argmax(outputs.logits, dim=1).item()
    return id2label[predicted_class], outputs.logits.softmax(dim=1)[0]

# Test with new emails
test_emails = [
    "Don't miss our biggest sale of the year this weekend!",
    "Can you send me the report by tomorrow? Thanks!",
    "Your account password was recently changed. If this wasn't you, please contact support.",
    "You've been selected to receive a free iPhone. Click here to claim now!",
    "I saw your website and I'm interested in your consulting services. Do you have time for a call next week?"
]

for email in test_emails:
    label, confidence = classify_email(email)
    print(f"Email: {email[:50]}...")
    print(f"Predicted class: {label}")
    print(f"Confidence: {confidence.max().item():.4f}")
    print("-" * 50)
To deploy our model for future use:
# Save the model and tokenizer
model_path = "./email_classifier_model"
model.save_pretrained(model_path)
tokenizer.save_pretrained(model_path)

# Later, to load the model
loaded_tokenizer = AutoTokenizer.from_pretrained(model_path)
loaded_model = AutoModelForSequenceClassification.from_pretrained(model_path)
Here are some ways to enhance our email classifier:
Once your classifier is working well, you can:
In this tutorial, we’ve built a powerful email classification system using Hugging Face’s transformer models. This approach leverages pre-trained language models that understand the nuances of natural language, making our classifier much more accurate than traditional methods based on keywords or simple rules.
The applications are numerous – from helping individuals manage their inboxes more efficiently to enabling businesses to automatically route customer inquiries to the right department. As NLP technology continues to advance, these tools will become even more powerful and accessible.
I hope this tutorial helps you implement your own email classification system. Feel free to expand upon this foundation to meet your specific needs!
Happy coding!


Subscribe to our weekly newsletter below and never miss the latest product or an exclusive offer.